Q-Talk 163 - ZK-PEP Update
- Details
- Category: Q-Talk Articles
- Published: Saturday, 01 March 2014 10:10
- Written by Peter Nunn
- Hits: 8988
[EDITOR'S NOTE: Peter Nunn from New Zealand sent me this update on his recent Q-200 acquisition. Good luck Peter - Please keep us posted on your progress!]
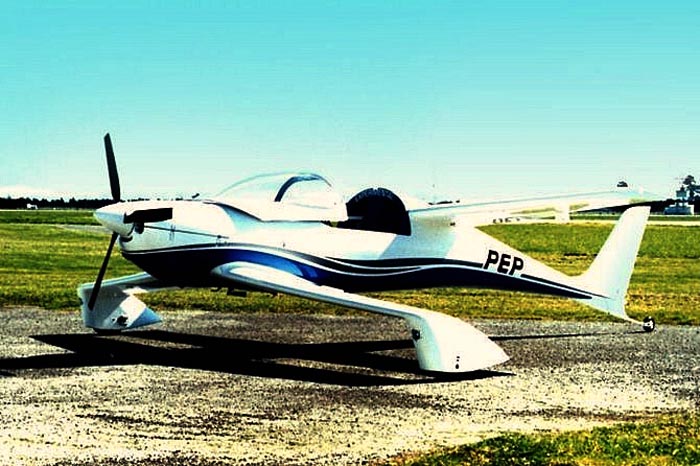
I purchased a complete, but as yet un-flying Q200 in the first week of October 2013. It was constructed by Brett Pettit in 2000 and has a Subaru conversion on the front. It had never flown as the installation overheated after 15 minutes of ground running and sensibly Brett decided not to fly the aircraft. The aircraft looked quite tidy
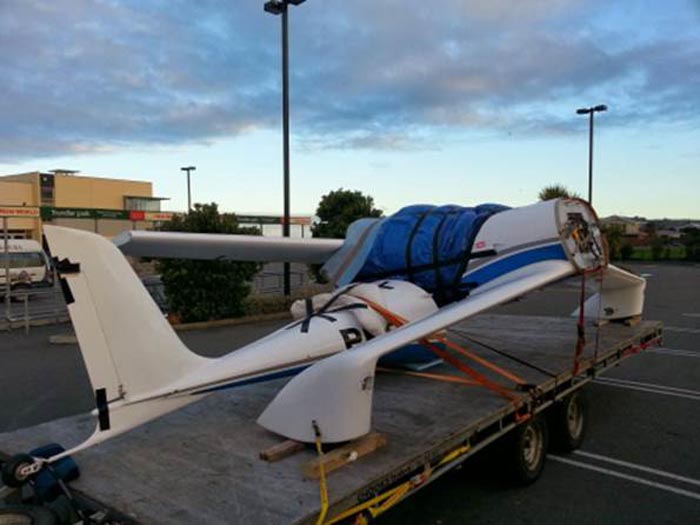
I picked up the aircraft from Christchurch which is around 360nm from where my hangar is located via road and a 3 hour ferry crossing of the Cook Straight. I left the engine behind as I have a Lycoming O-235 from a Cessna 152 that I wanted to fit onto the project. After a very long drive we got it home.
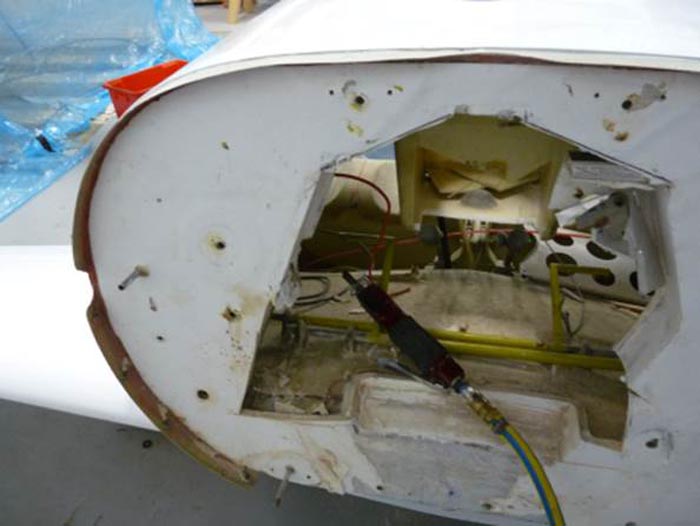
First order of the day was to remove all of the stuff that was specific to the Subaru installation. I removed the existing instrument panel and a fair section of the firewall. Fortunately fitting a Lycomming is a lot less work than the Subaru that I was replacing. Quite easy to buy a Dynafocal mount from Aircraft Spruce that just fits. This is the hole in the front of the aircraft that was the firewall. Unfortunately I was a bit too eager with the saber saw and would end up replacing some of the material I removed.
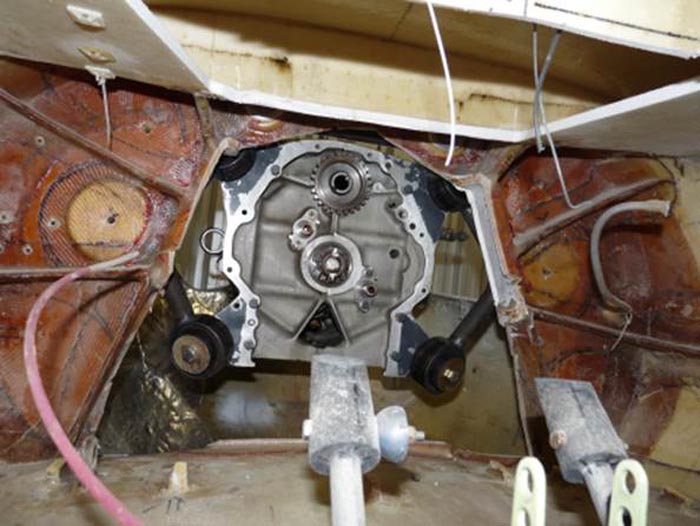
Another point of difference was the header tank and complicated fuel management system. I decided to fly with just the 80 Litre main tank rather than a secondary header tank as well. Most of my flying is quite short and I needed the space that was occupied by the header tank for the engine. You can see the cut-away header tank. I am also quite a fan of KIS the cockpit. Having a single fuel tank with a single gauge and dual pumps is a proven and reliable system.
First order after the destruction was to trial fit the O-235. It was a good fit with the engine sitting as far back as I could get it. The Dynafocal ring sits on the firewall.
This was the view from the rear.
So after my initial fitting it was on to welding the engine mount and when I was able to remove the engine hoist it actually looked ok
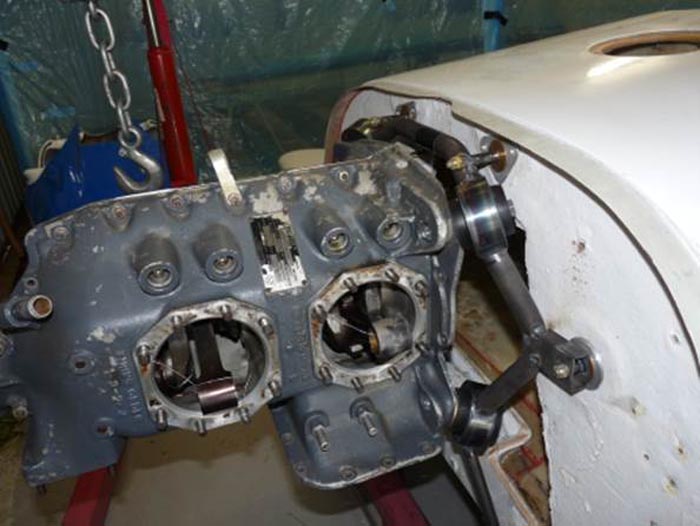
I then fitted the cylinders and started work on the baffles. Based on a set of baffles for an O-320 being fitted to my RV-8 (another story). This is the left side
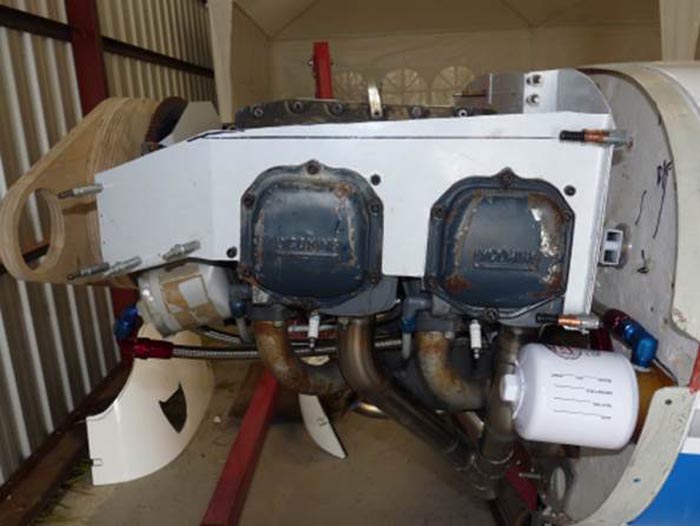
I relocated the oil filter from the rear of the O-235 to the firewall. This is so I don’t need access to the rear of the engine for maintenance. You can also see the oil cooler mounted in the front baffle
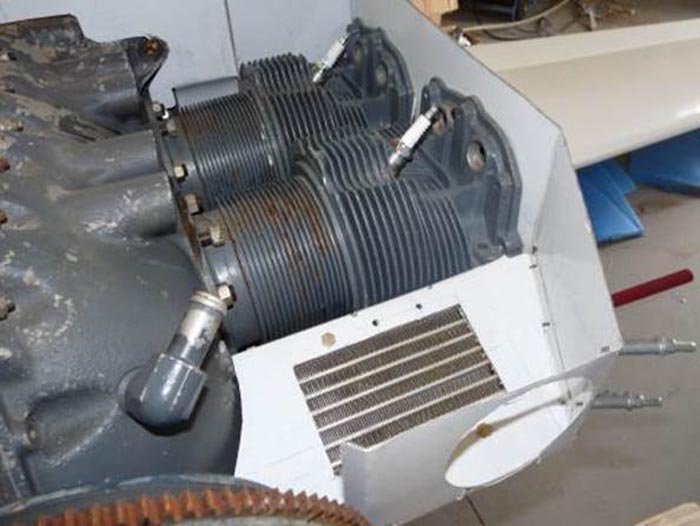
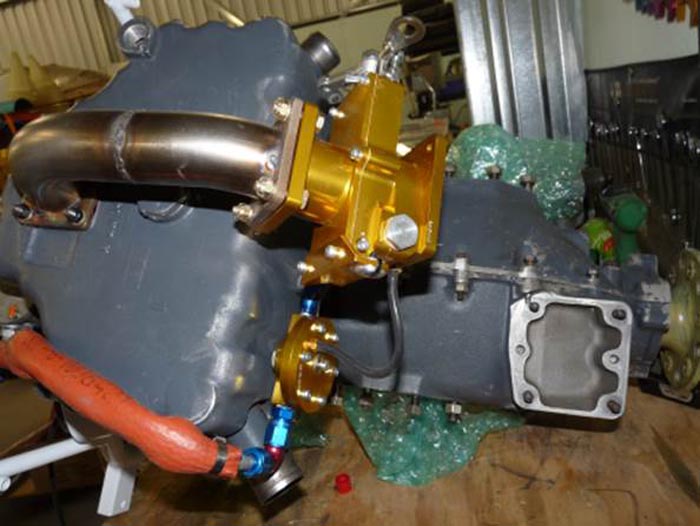
During this time I also welded a new intake and exhaust system for the O-235. The intake is designed to use a Rotec TBI as I can’t get an updraft carb to fit. This is the shot of the right side of the engine with the hot air for the cabin and intake manifold shown.
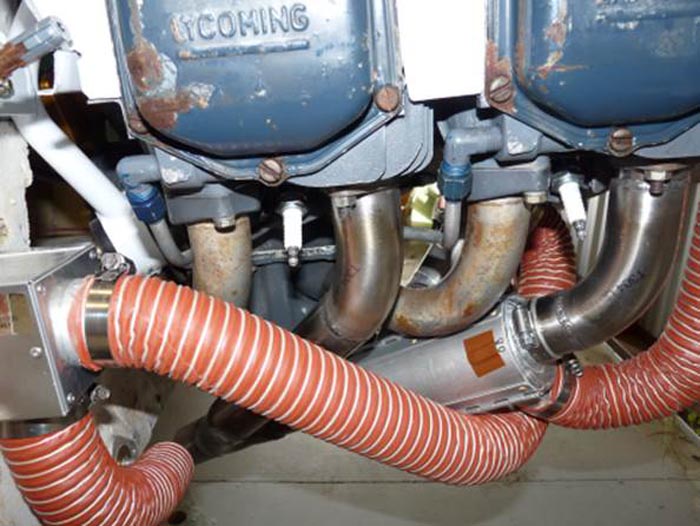
Next step was to pull it all apart and build the box that sits behind the engine. I determined that allowing for the accessories on the engine and a reasonable air box to allow things to keep cool a 14” wide by 7” deep box would be needed. This was duly fabricated from 1/4” ply
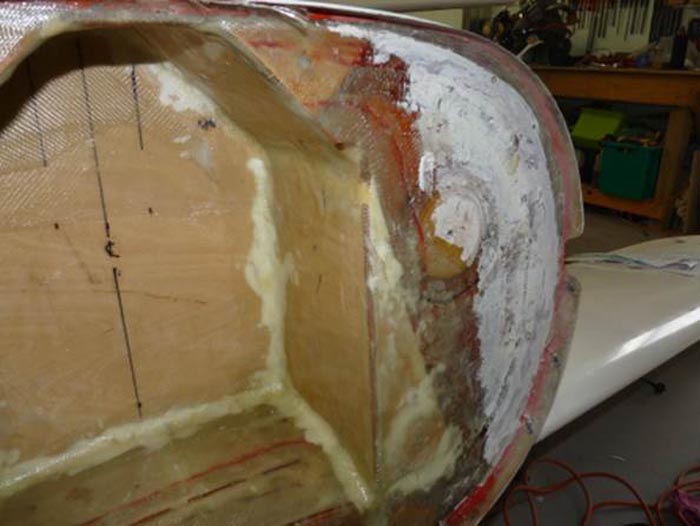
You can see the area in the lower right that I had to replace after I cut it away. Live and learn!
The rear of the box still gives enough room for the rudder pedals, which will include toe brakes.
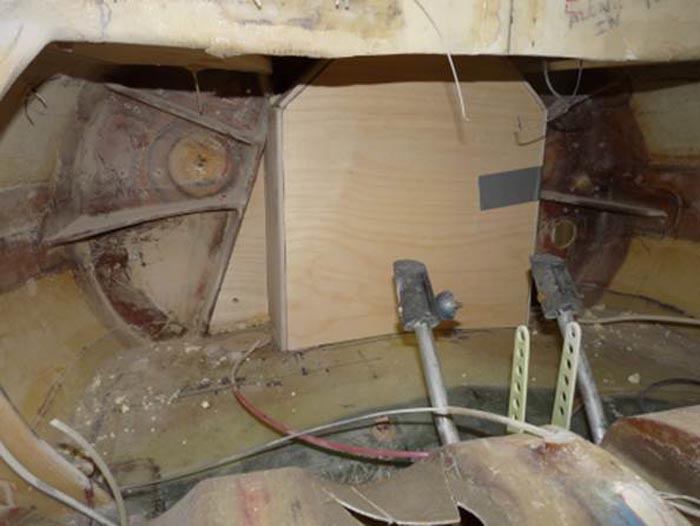
You can just see in the bottom of the photo a cut-out in the top of the fuel tanks. This was to allow more room for the legs of the occupants. However for me more fuel was to be more important. This meant re-instating the original shape of the large tank.
I had intended to try and use as much of the original cowl. However after it was cut down and fitted around the O-235 it was apparent that it would be easier to start over.
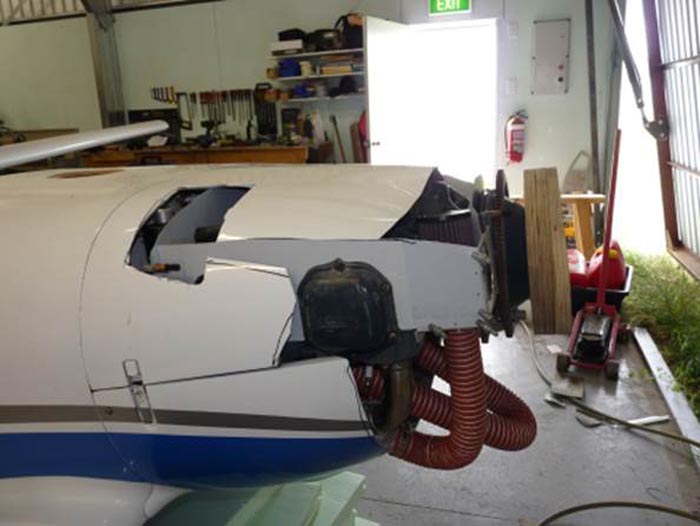
A pity as Brett had done a really good job on the original cowl. The parts to complete the back of the engine had also arrived so I fitted them to the accessory case.
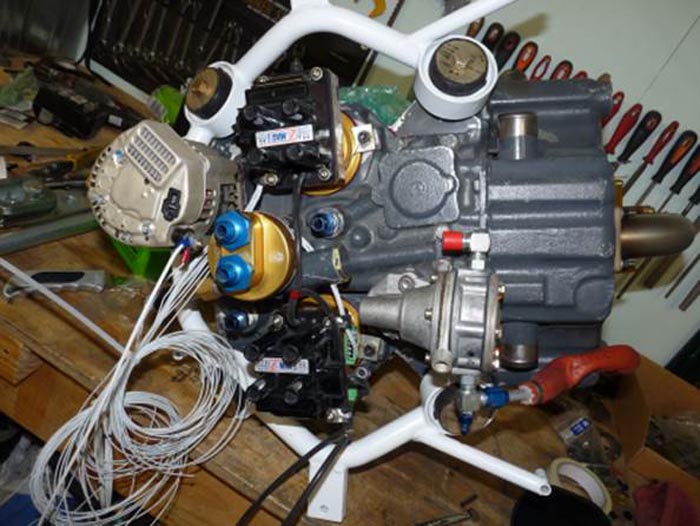
I had to fit a mechanical fuel pump, which necessitated replacing the left mag drive. I am also a big fan of the E-Mag electronic ignitions. The O-235 did not have mags, and there was no way I would pay for a set of Slick mags in the 21st century. I also did a power plan and worked out that I could run all of the avionics, engine and lights for night VFR on 20 Amps. This was good as I fitted a B&C 20A alternator to the rear of the engine. It also has the benefit of moving the C-G toward the firewall.
The TBI had also arrived from Rotec and makes quite a nice induction system.
So after completion of the major mechanical changes it’s onto the cockpit area. I removed the original pilot arm rest and replaced it with one sporting a throttle quadrant
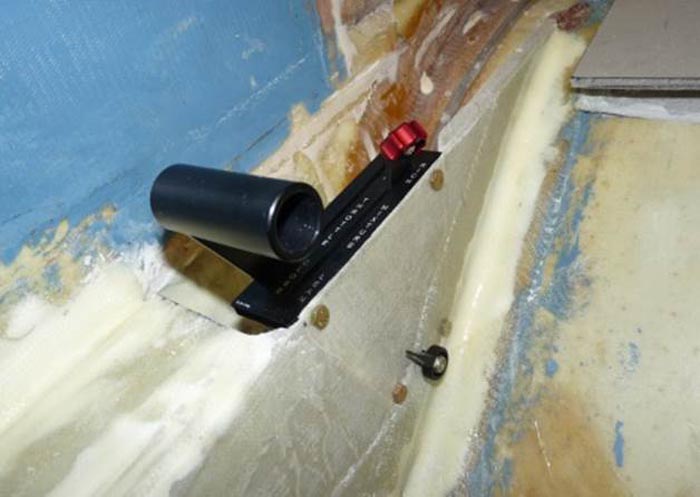
It’s an RV-8 unit and has the right ‘feel’. In my cockpit all critical in-flight controls are on the left, with only the cockpit heat and panel light dimmer being on the right hand. The master and mag switches are on the right hand as they are usually changed on the ground and at that time you don’t really need to be holding the stick.
The fuel pickup is located in the centre rear of the fuel tank
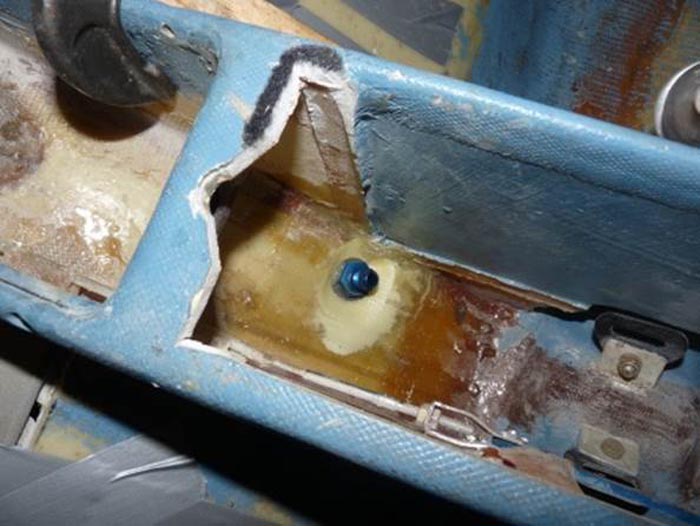
With an aluminium pickup that should result in very little un-usable fuel. Note the generous amount of pro-seal to seal the pickup.
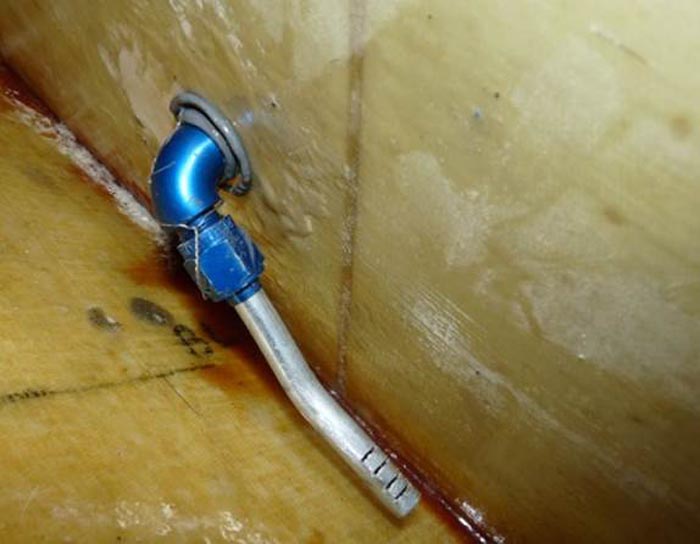
Since there is no header tank I needed to put a balance pipe between the two humps in the fuel tank
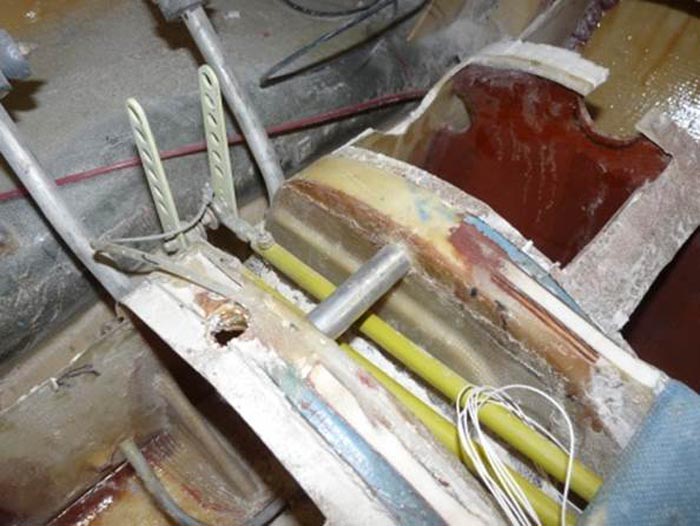
This means that I can completely fill the tanks. I have also removed the leg scallops and needed to make some patches. I vacuum bagged some Divyncell to make a single sided filler and glued it to the old tank
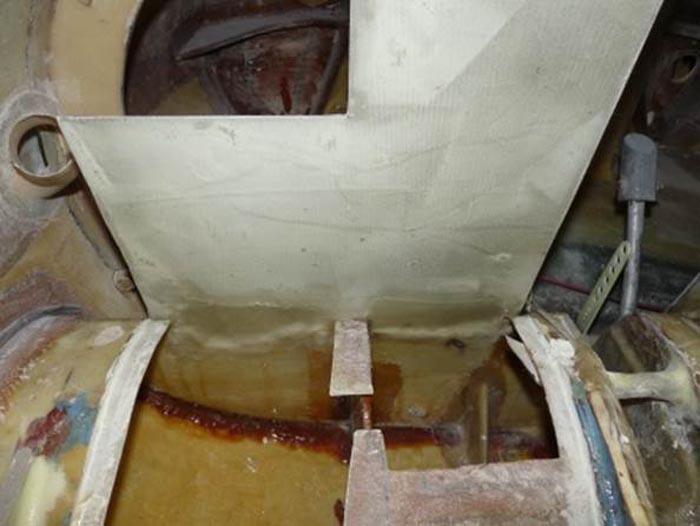
I then used a heat gun to soften the epoxy and foam to curve around the tank
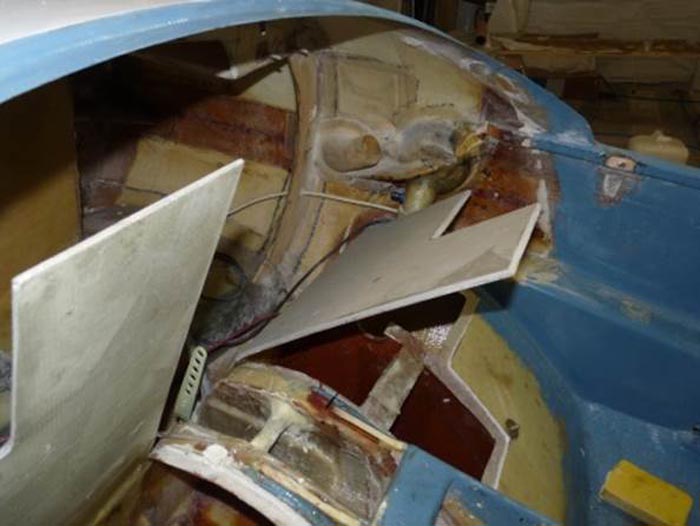
A fair bit of micro was then applied to the old tank and finally it was sealed
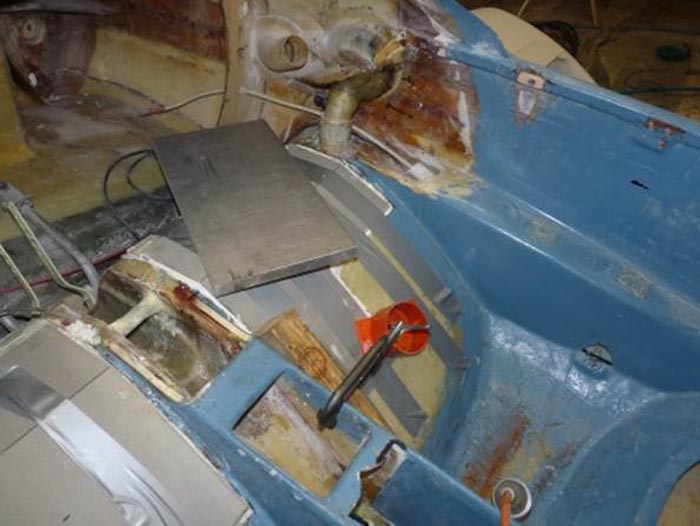
Both sides are now done and hopefully there won’t be any leaks, or even worse pin-holes that will allow fuel to erode the old foam. Divyncell is not affected by fuel so I don’t have a problem there.
Another small change to the project was to remove the automotive style fuel filler that Brett had used. It had 2 problems, firstly it was not lockable and secondly it was vented so fuel could be sucked out by lower air pressure on the side of the aircraft. I decided to install a lockable Andair fuel filler.
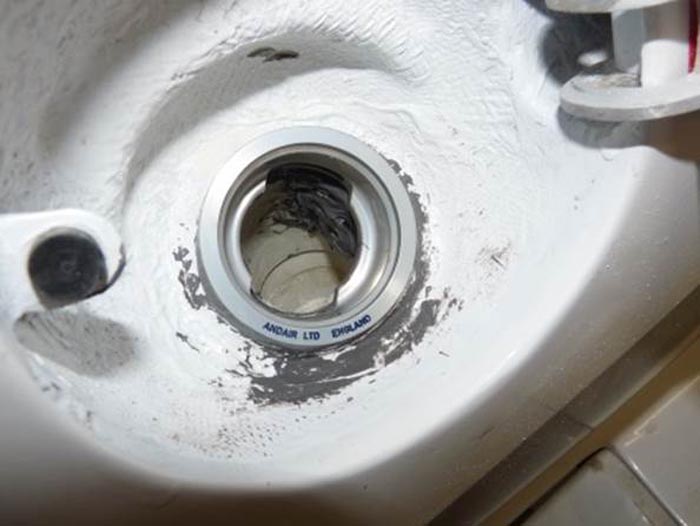
It sits behind a door that can be closed to improve the airflow around the filler.
A big reason for this project has been as a test bed for my experimental avionics. I have been working for a while on an open-source EFIS that is based on CanAerospace. This project is well under way with the engine data unit for a Lycoming done, a low cost AHRS and GPS unit and a trim/autopilot controller. The EFIS can be hosted on a number of platforms (Linux, Windows, Windows CE) and is all open source. You can also have as many displays on the Can Bus as you like. However I digress into shameless marketing for my company Kotuku Aerospace.
The panel is an aluminium sheet, replacing the complex fibre glass one Brett had developed.
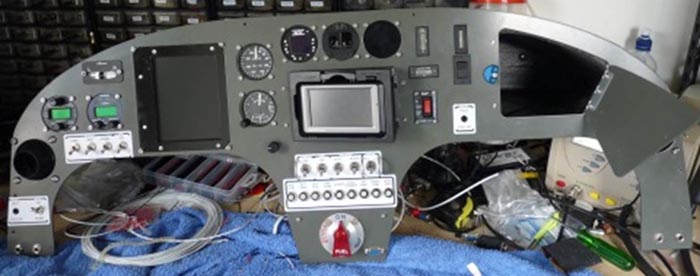
The panel has (from left to right) a Microair M760 radio, Microair Transponder, my EFIS, a backup altimeter and airspeed indicator, then a Garmin Aera 550 for navigation. Along with trim indicators, a reflexor (electric) and an EIS for the electronic magnetos which serves as a backup tachometer and manifold pressure gauge.
The wiring on the rear is nearly all done
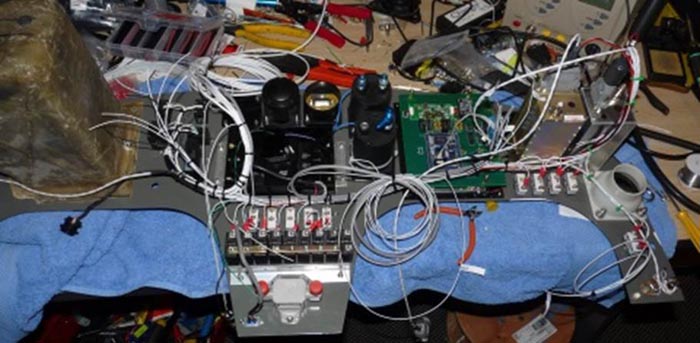
The green bit on the right is my EFIS which runs the open-source software under windows CE using an ARM processor that is the same that is used on millions of Samsung mobile phones.
That’s the stae of play as of the first day of January and 3 months on the project. If you want more information check out the blog:
Hopefully by the time you read this another Quickie will have flown.


