Q-talk 126 - Cowl Conversion for a Rotax


- Details
- Category: Q-Talk Articles
- Published: Wednesday, 23 December 2009 16:24
- Written by Jeff Sell
- Hits: 3685
When I first looked at the Q bird I was eventually to purchase, it had a Corvair engine installed. The builder told me it was "close to flying". Close to flying is a relative term and with a Q bird, that could mean 500 hrs. to go. I bought it without the engine, but with the custom made cowl since this was the only cowl he had.
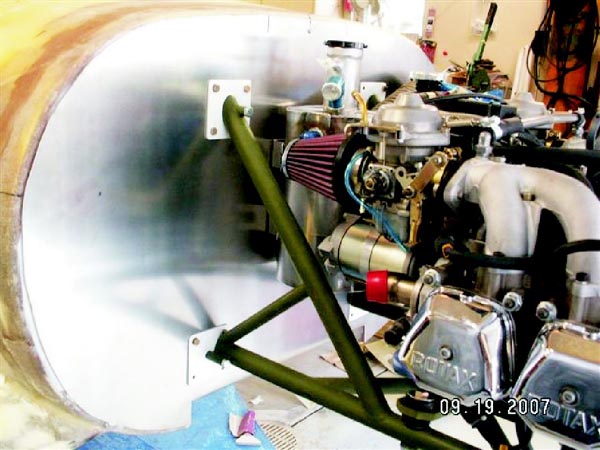
This would be my second full size composite airplane project and when checking this airframe out, I found most of the work looked good. The worst thing I found was the firewall position, it was installed exactly opposite of the plans. In other words, the cowl overlapped the fuselage by about 4" and was mounted on tabs bonded to the fuselage. Then of course the overlap would have to be feathered in with filler to blend into the fuselage. The builder had micro filler back about another 6". All of this would not work for what I wanted. I wanted to install a 912 Rotax. The Rotax engine weighs 135 lbs.; is 23" wide, 23"long, and 15" high. The Corvair cowl was cavernous for either the 80 or 100HP Rotax, which are the same size and interchangeable.
Since I like the look of the Q, the cowl needed to remain as stock looking as possible. The problem is, the Q2 cowl is
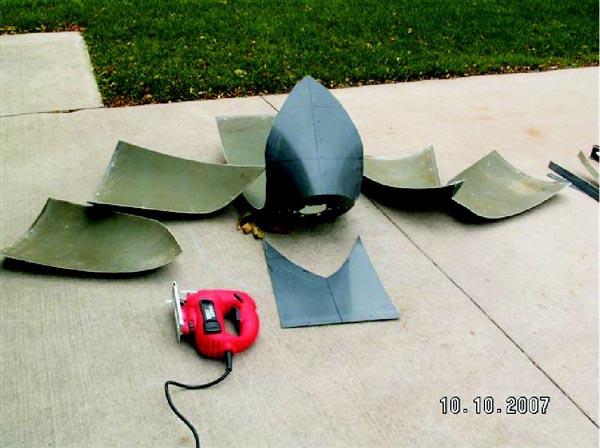
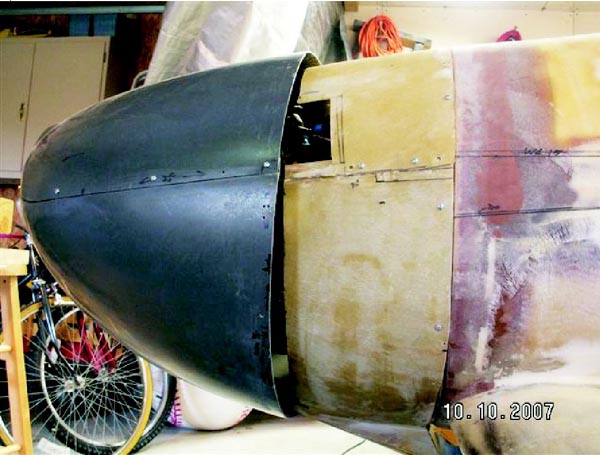
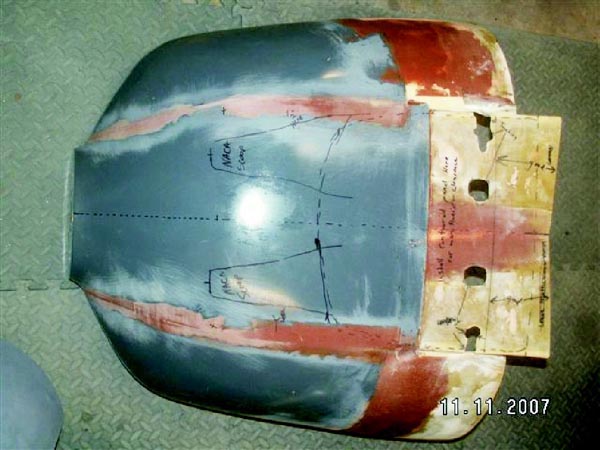
The solution was to take an 8" aft section or what was useable from the Corvair cowl and match it to a Q2 cowl.
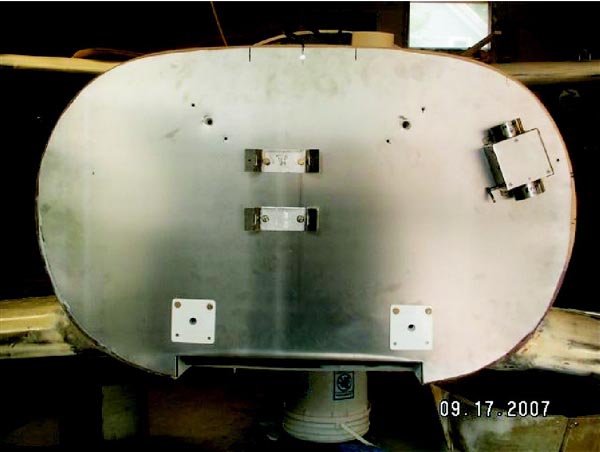
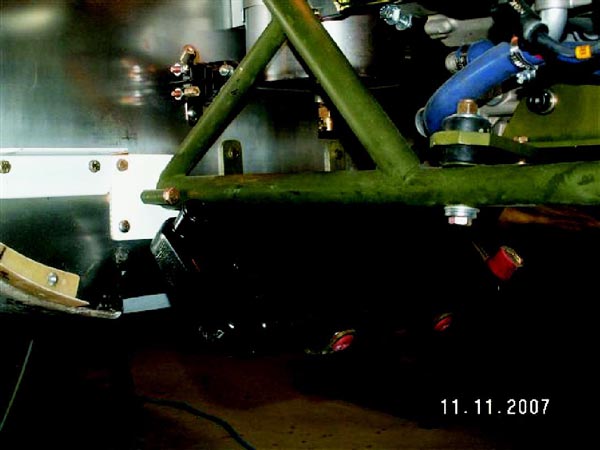
First I needed a useable firewall with a flange to mount the cowl to. After fixing the firewall problem and getting a stock Q2 cowl, I could make a flange just like the plans say, only stronger to support the added length and weight.
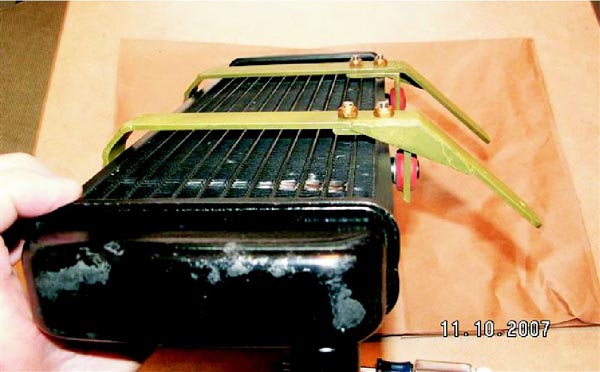
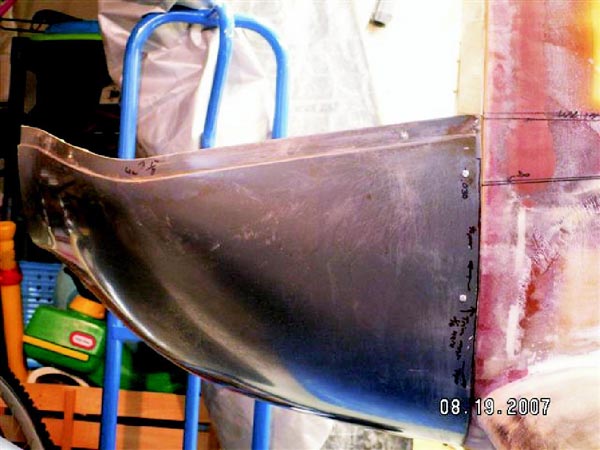
I rebuilt a 912 last winter and made a motor mount. I attached this to the firewall along with the .016" thick stainless steel sheet.
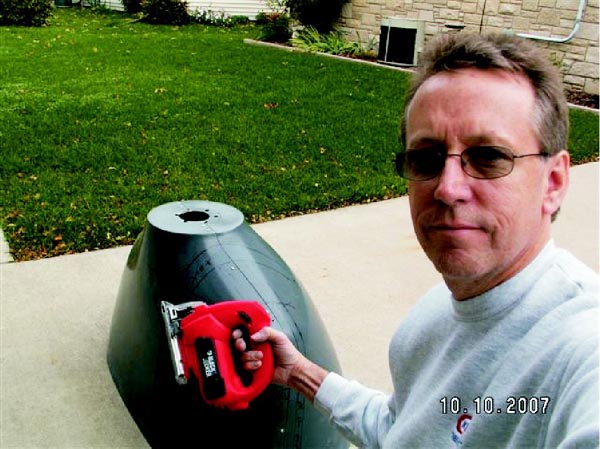
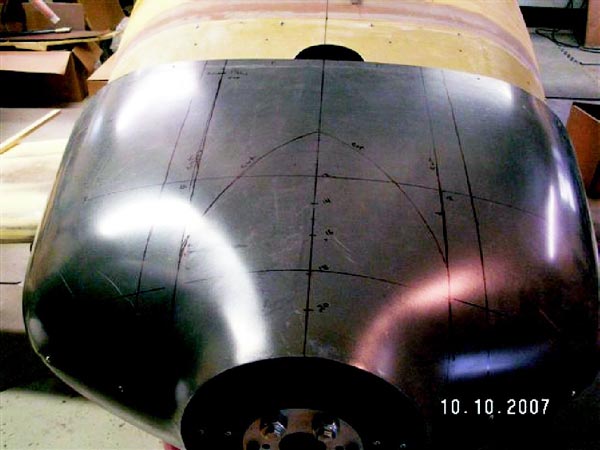
I made two vertical cuts on both sides of the spinner area, through the top and bottom cowl. Those cuts remove a tapered strip measuring 2.5" in the front and 1.25" from the aft end of the cowl. I also needed to remove a strip measuring %" wide at 2" above the horizontal flange of the upper cowl quarter sections. The elliptical cut behind the spinner was made for height alignment.
Other issues I didn't address are: The waxy substance on the inside of the original Q cowl; use of model aircraft super glue with kicker for tacking parts together; balsa wood and foam fillers; use of S glass instead of E glass. I'll use 2 NACA scoops for 80% of the cooling, the conventional front cowl inlet openings will be small since the engine heads are liquid cooled. Any questions or comments can be addressed to me via Email at This email address is being protected from spambots. You need JavaScript enabled to view it. .
Keep building & build with confidence with the Q network,
Jeff Sell
Beaver Dam, WI
Jeff sent me many more photos of his cowl project and I have placed those at the QBA web site.
You can order a printed copy of Q-talk #126 by using the Q-talk Back Issue Order Page.